1
Tag Your Ad URLs
Generate a pre-tagged URL for your ads. This links spend data to traffic behavior — no API needed.
Pick your ad platform. The builder fills in the correct tracking parameters automatically. Paste the generated URL into your ad's destination field.
Ready to copy
Enter your landing page URL above to generate...
Meta tip:
{{campaign.name}} and {{ad.id}} are Meta dynamic parameters — Meta fills them in automatically on every click. Paste this URL directly into the ad's destination field in Ads Manager.
Already using UTM tags? Skip to step 2.
2
Install the Tracking Pixel
One line of code. Goes in the
<head> of every page you advertise to. Takes under 2 minutes.Where does it go?
Think of your website like a human body
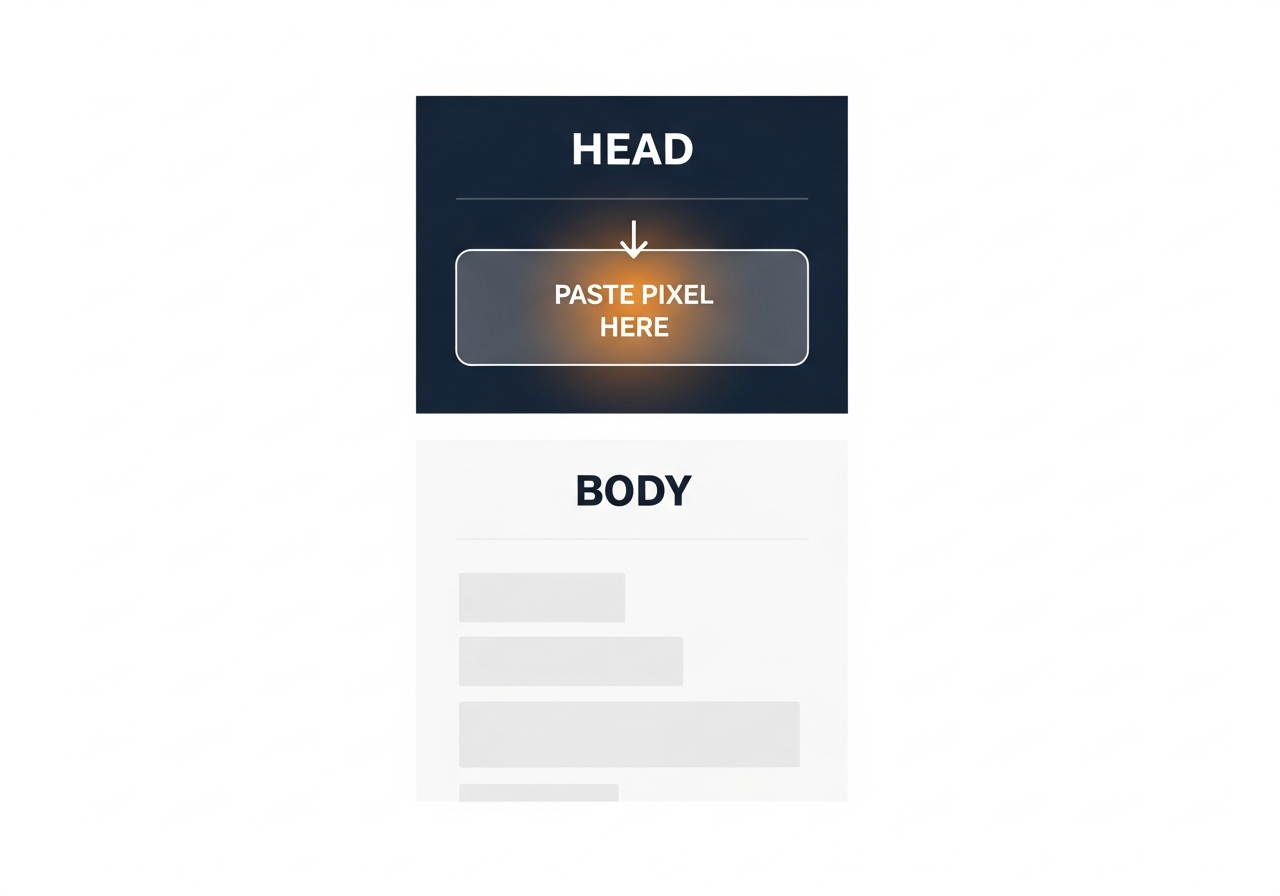
Your website has a HEAD (invisible setup info) and a BODY (what visitors see). The pixel goes in the HEAD.
HEAD
The invisible setup zone
Contains the title, fonts, and tracking scripts. Visitors never see this — it runs silently in the background.
BODY
What visitors see
Your text, images, buttons — everything on the page. The pixel does NOT go here.
The pixel goes in the HEAD
Just before the
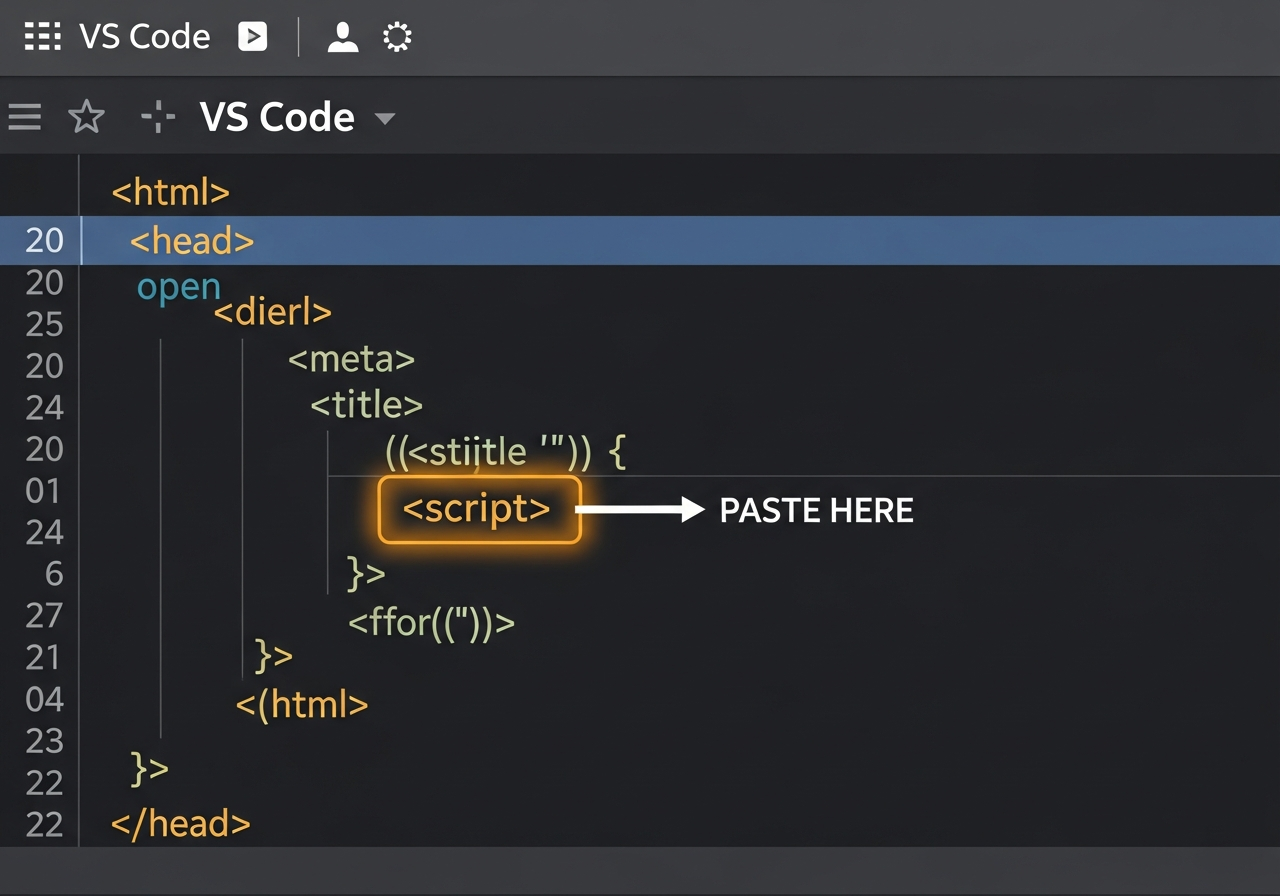
</head> closing tag. It loads silently and won't change anything visitors see.Here's what it looks like in a code editor:
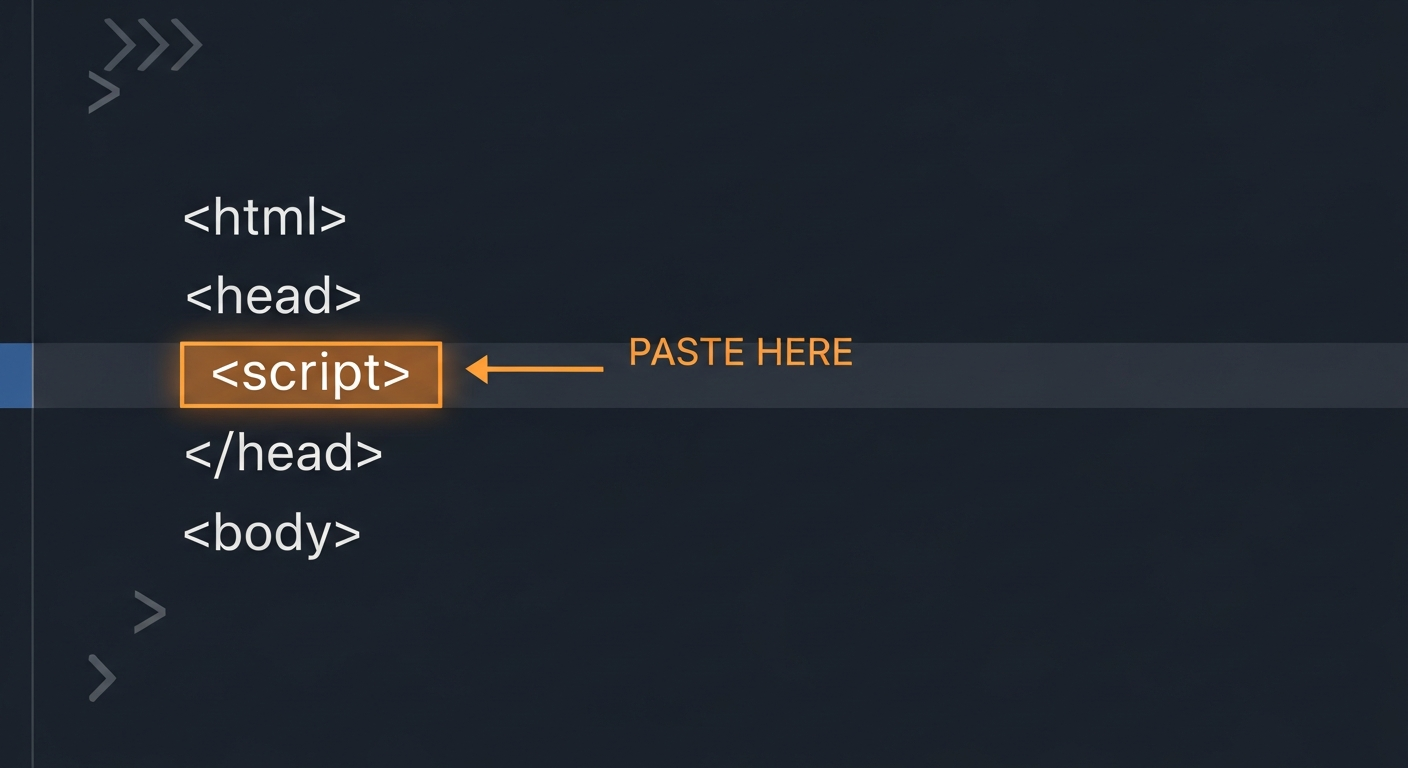
The orange highlighted line is where your pixel code goes — right inside <head>, before the closing tag.
Your pixel code
<script async
src="https://adintellx.replit.app/static/pcdf-pixel.js"
data-pixel-id="USER_PIXEL_ID"
></script>
The
async attribute means this tag will not slow your page. It loads in the background and does not block any content from appearing.Where is your landing page built? Pick one.
-
1Log in to WordPress AdminGo to
yoursite.com/wp-admin. You'll need your WordPress username and password. -
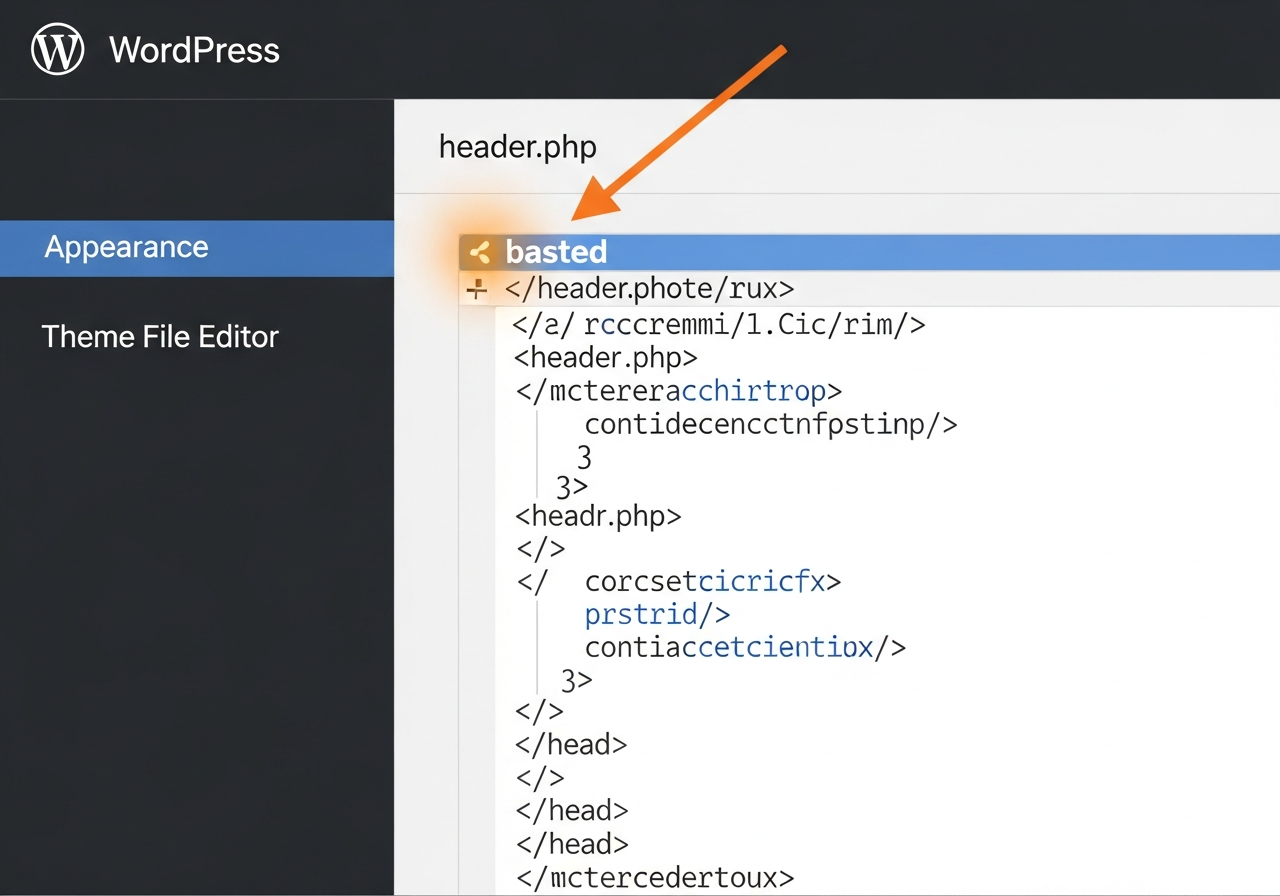
2Click Appearance → Theme File Editor in the left sidebarIf you don't see Theme File Editor, install the free plugin "Insert Headers and Footers" — it's an even easier option. Then go to Settings → Insert Headers and Footers and paste into the Header box.
-
3Open header.php and find
</head>— paste your pixel just before itOn the right side of the editor you'll see a file list. Clickheader.php. UseCtrl+Fto search for</head>, click the line just above it, and paste. Click Update File.
-
1Go to your Wix Dashboard and open SettingsLog in at
wix.com, go to your site's dashboard, and click Settings in the left sidebar. -
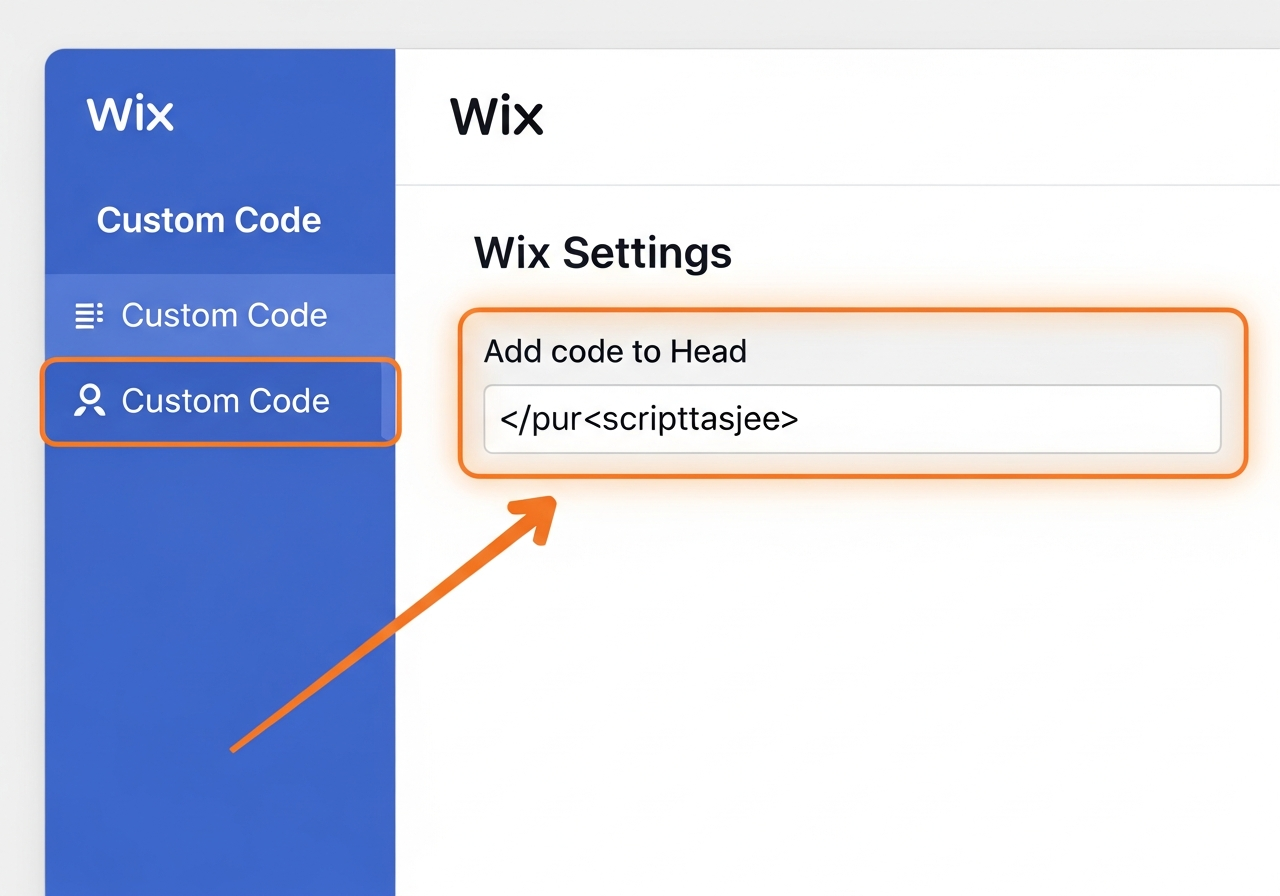
2Click "Custom Code" — it's in the Advanced sectionScroll down to find Custom Code. Click it. You'll see a panel with an "Add code to Head" field exactly as shown in the image above.
-
3Paste your pixel code into the Head field — Apply to All Pages — SavePaste the pixel code into the Add code to Head box. Make sure "Apply to all pages" is selected. Click Apply then publish your site.
-
1Open your Squarespace site editor and go to SettingsLog in at
squarespace.com, click your site, then click the Settings gear icon in the left panel. -
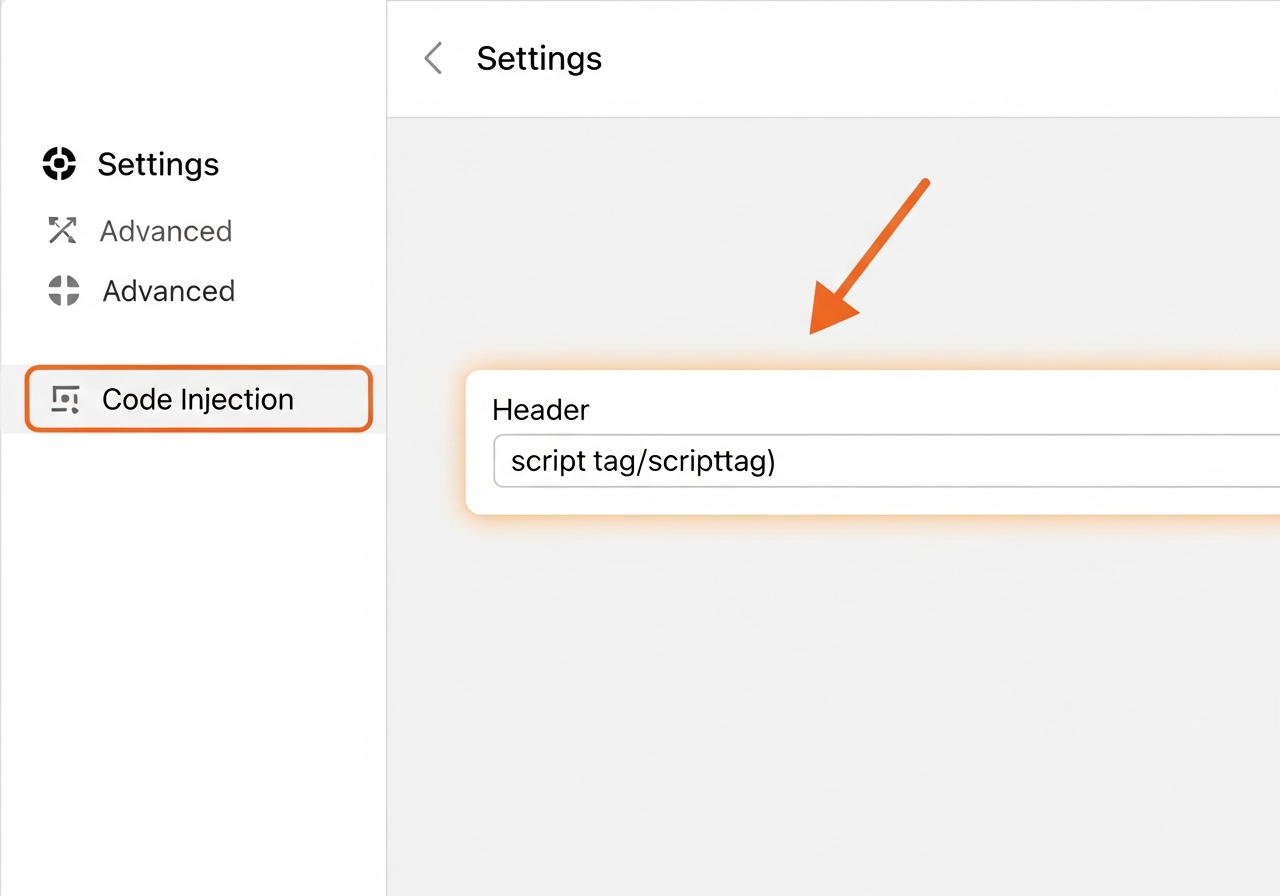
2Go to Advanced → Code InjectionScroll down to Advanced in the settings menu and click Code Injection. You'll see the Header field exactly as shown above.
-
3Paste your pixel code into the Header box — SaveClick inside the Header code box and paste your pixel code. Click Save at the top of the page, then publish.
-
1In Shopify Admin, go to Online Store → ThemesLog in at
admin.shopify.com. In the left sidebar click Online Store, then Themes. -
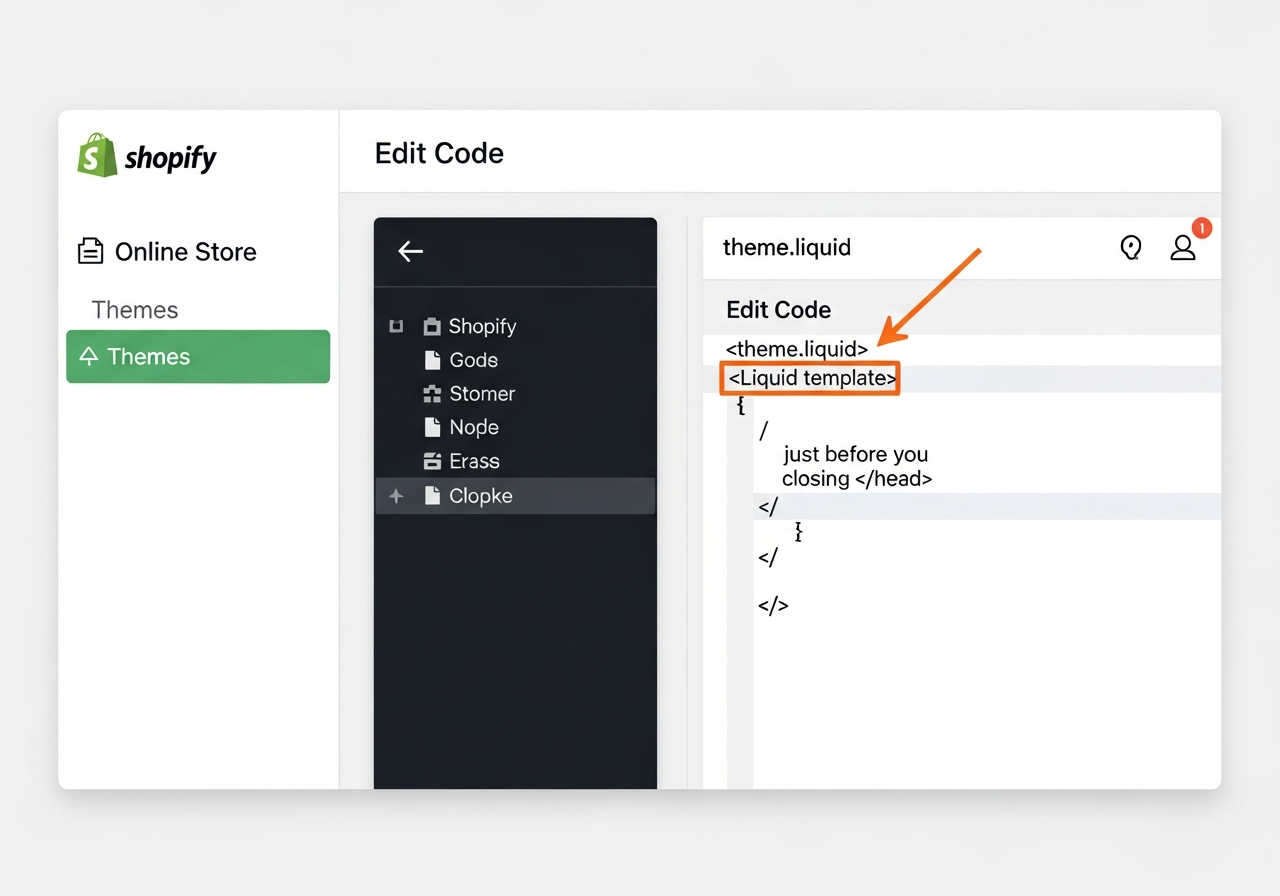
2Click the 3-dot menu on your live theme → Edit Code → open theme.liquidClick the ⋮ (three dots) next to your current theme, choose Edit Code. In the file list under Layout, click
theme.liquid. -
3Find
</head>, paste just before it, and SavePressCtrl+Fand search for</head>. Click the line just above it, press Enter, and paste your pixel code. Click Save.
-
1Open Google Tag Manager and click Tags → NewGo to
tagmanager.google.com, select your workspace, click Tags in the left menu, then click New. -
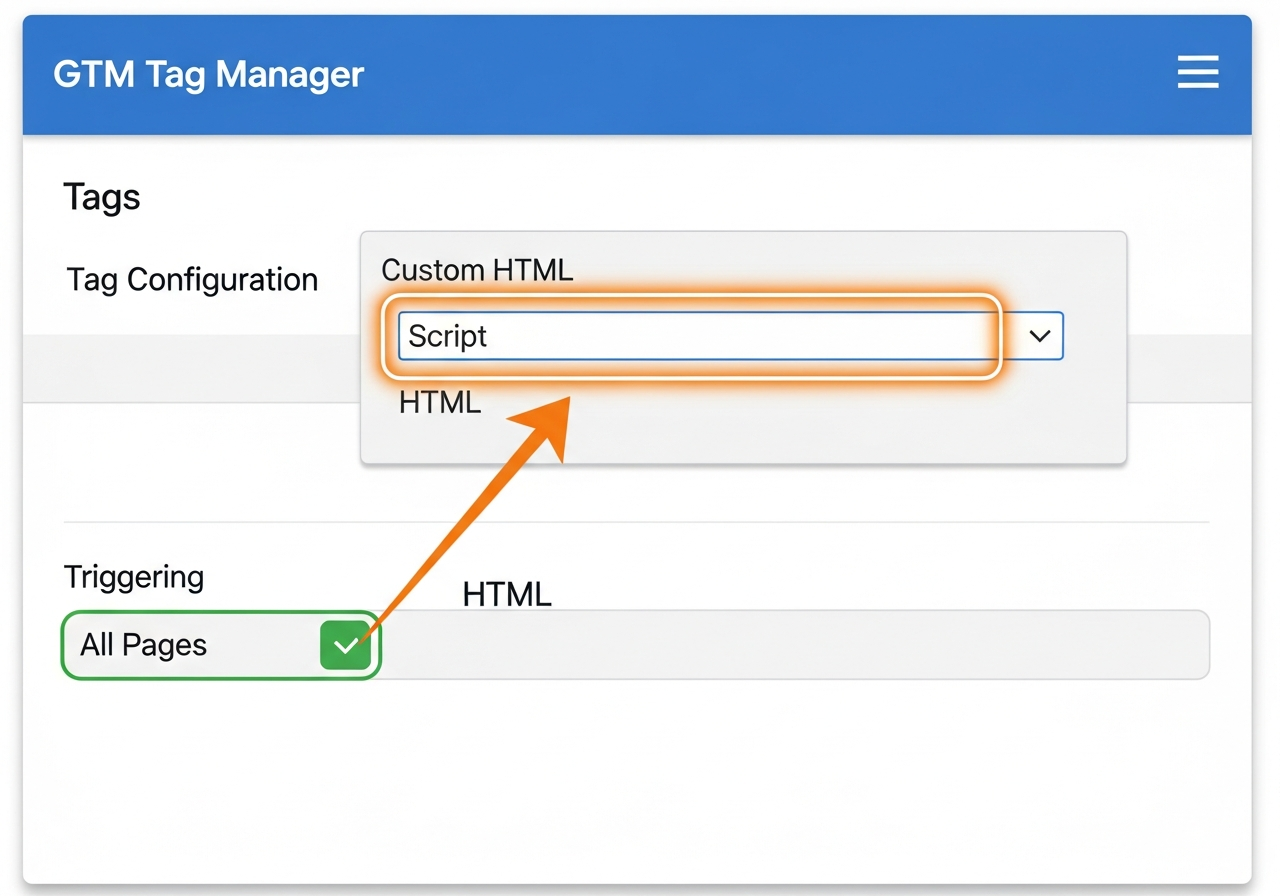
2Choose "Custom HTML" — paste your pixel code in the HTML boxClick Tag Configuration and choose Custom HTML. Paste your full pixel code into the HTML field exactly as copied.
-
3Set trigger to "All Pages" → Save → Submit → PublishClick Triggering and choose All Pages. Click Save to name the tag, then click Submit and Publish to push it live.
-
1Open your HTML file in any text editorOpen your landing page's
.htmlfile in VS Code, Notepad, TextEdit, or any text editor. If you have multiple pages, you'll need to add the pixel to each one. -
2Find
</head>using Ctrl+F (Cmd+F on Mac)PressCtrl+Fand type</head>. You'll see it highlighted near the top of your file — it's always inside the top 30 lines or so. -
3Click the line just above
</head>, press Enter, paste, and savePosition your cursor at the end of the line before</head>, press Enter to create a new line, paste your pixel code. Save the file (Ctrl+S) and re-upload it to your server.
3
Verify Signal Firing
Open your landing page in a new tab, browse for a few seconds, then click Refresh below.
Open your landing page in a new browser tab
This simulates a real visitor arriving from your ad.
Scroll the page and wait 5 seconds
The pixel needs a moment to record your session data.
Come back here and click "Refresh Status"
Signals arrive within seconds. The indicator will turn green.
Waiting for first signal...
6 Behavioral Signals — Captured Automatically
Each signal targets a different dimension of traffic quality degradation.
Time to First Interaction
Bots cluster at <100ms or never interact. Real humans take 1–8 seconds.
Scroll Velocity & Inflections
Bot scrolling is linear and fast. Humans slow down, reverse, and pause.
Active vs. Background Dwell
Low-quality inventory routes clicks to background tabs — users never view your page.
Rage Clicks
Frustrated users clicking rapidly signal mismatched ad-to-page targeting.
Largest Contentful Paint
Isolates inventory degradation from pure page-performance problems.
Input Focus Latency
Bots never focus form fields. Human latency reveals genuine interest level.